1 2 On medium speed, beat in the remaining sugar (which should be 1/2 cup, or 100g) and the softened butter until it is slightly broken up. Add the eggs and salt and beat on medium speed until combined. The butter won’t really be mixing into the mixture, so don’t be alarmed if it stays in pieces. Turn the mixer down to low speed and, with it running, add 1 cup of flour at a time, making sure it’s fully incorporated before adding the next. After 4 cups have been added, add the last 1/2 cup and beat until the dough comes together and pulls away from the sides of the bowl, about Uses 2 large eggs, at room temperature 4 1/2 cups (563g) all-purpose flour or bread flour (spooned & leveled), plus more as needed 3 Knead the dough Keep the dough in the mixer and beat for an additional 5 full minutes, or knead by hand on a lightly floured surface for 5 full minutes. (If you’re new to bread-baking, my How to Knead Dough video tutorial can help here.) If the dough becomes too sticky during the kneading process, sprinkle a teaspoon of flour on the dough or on the work surface/in the bowl to make a soft, slightly tacky dough. Do not add more flour than you need because you do not want a dry dough. After kneading, the dough should feel soft, smooth, and elastic. Poke it with your finger—if it slowly bounces back, your dough is ready to rise. You can also do a “windowpane test” to see if your dough has been kneaded long enough: tear off a small (roughly golfball-size) piece of dough and gently stretch it out until it’s thin enough for light to pass through it. Hold it up to a window or light. Does light pass through the stretched dough without the dough tearing first? If so, your dough has been kneaded long enough and is ready to rise. If not, keep kneading until it passes the windowpane test. Uses 4 1/2 cups (563g) all-purpose flour or bread flour (spooned & leveled), plus more as needed 4
1st Rise Lightly grease a large bowl with oil or nonstick spray. Place the dough in the bowl, turning it to coat all sides in the oil. Cover the bowl with aluminum foil, plastic wrap, or a clean kitchen towel. Allow the dough to rise in a relatively warm environment for 5 6
Roll out the dough Punch down the dough to release the air. Place dough on a lightly floured work surface and, with a lightly floured rolling pin, roll dough into a 12×18-inch rectangle. Make sure the dough is smooth and evenly thick. If the dough keeps shrinking back as you roll it out, stop what you’re doing, cover it lightly, and let it rest for 7 8
2nd Rise Cover the rolls tightly and allow to rise until puffy, about 9 Preheat oven to 350°F (177°C). Bake for
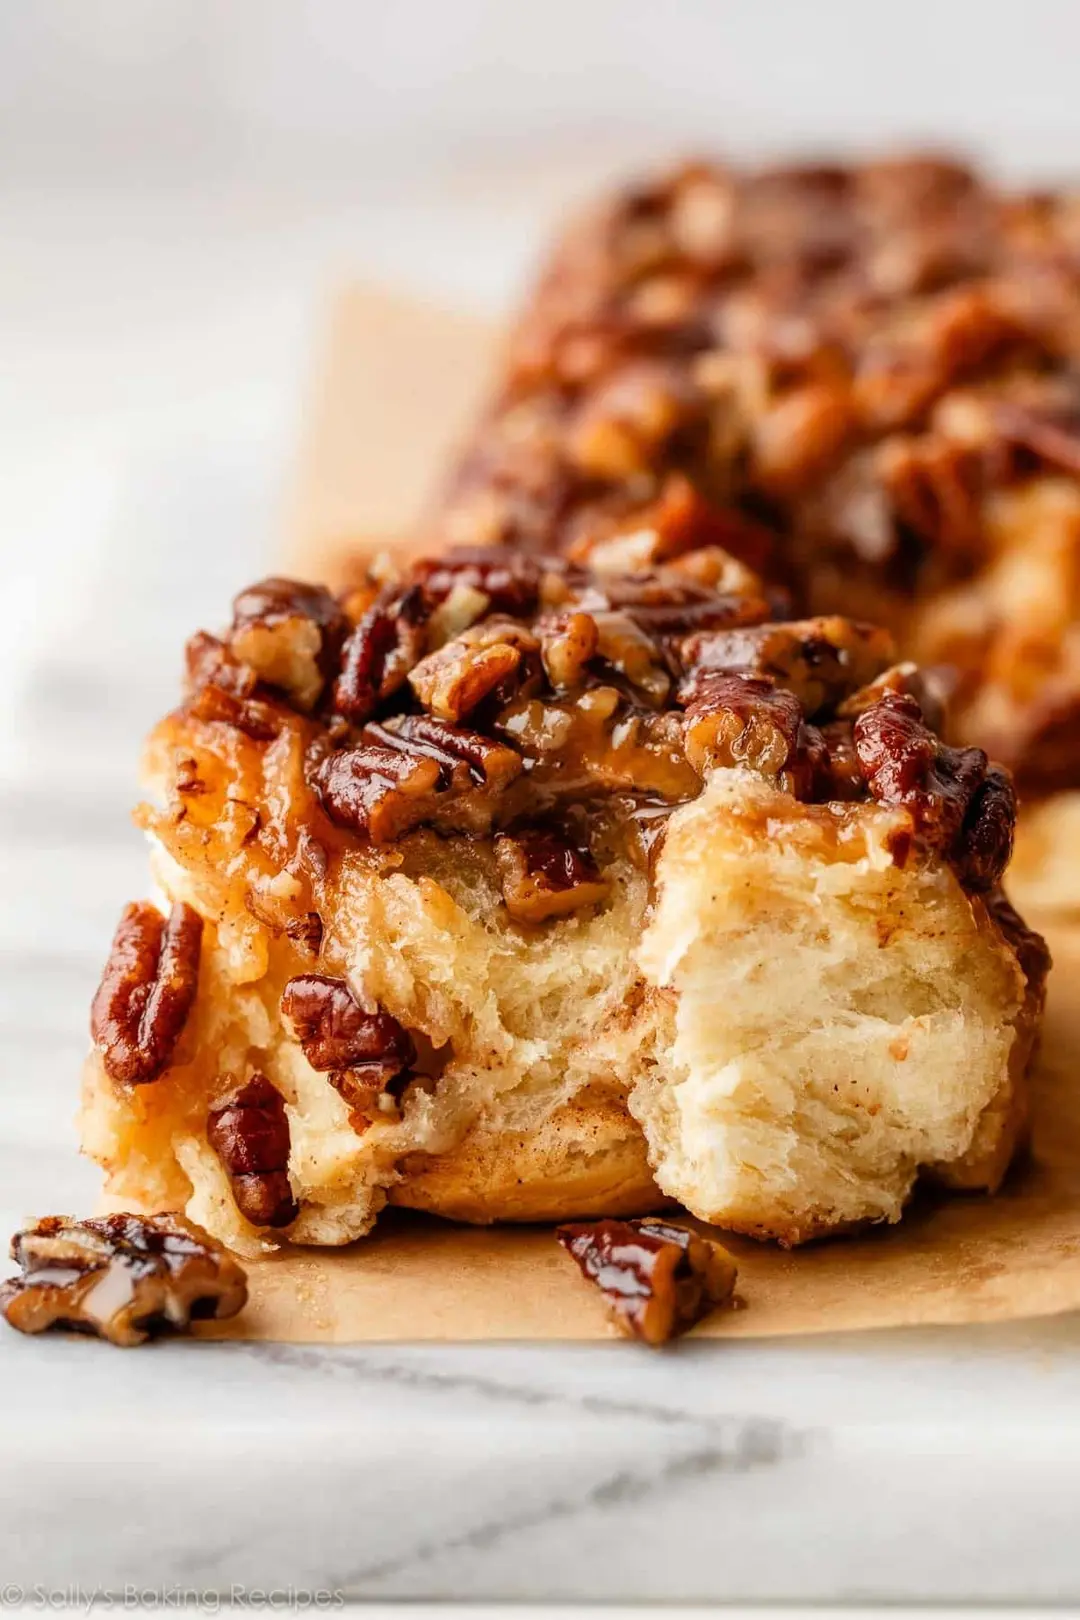
10 Using oven mitts, carefully invert the pan onto a large serving platter. The warm topping will cascade down the sides. Serve warm.